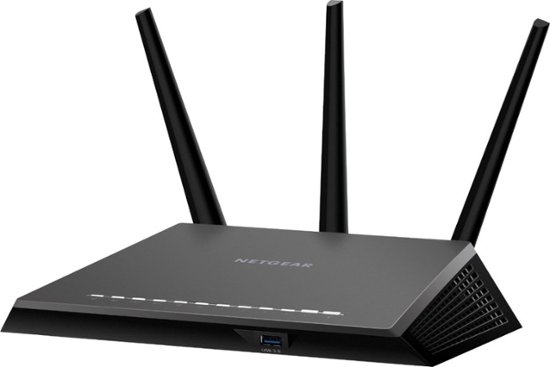
How to set up VPN on Netgear Nighthawk R7000 Router
We may earn commissions from the companies mentioned in this post. View our FTC disclosure for more information.
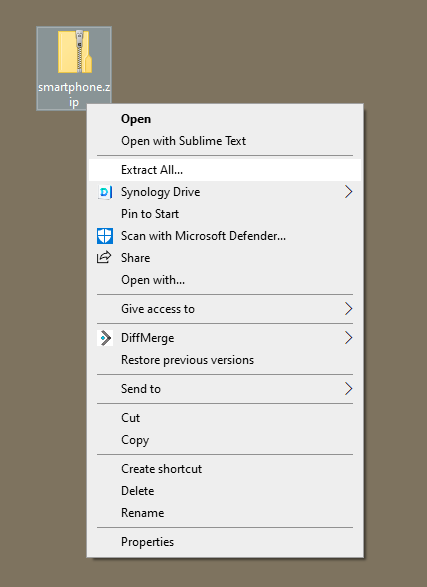
If you’re here, it’s likely because you’ve read the Netgear documentation and beat your head against the wall because nothing worked…especially if you’re trying to get OpenVPN to work on your iPhone. I have the solution! The problem is that the documentation only states that you need to download the VPN configuration and import it to your device, but the download from the router is a zip file that contains a profile with a .ovpn file extension, two certificates, and a key. This is fine for windows and mac computers, but not so much for iOS and android smartphones. To learn how to get it up and running on those devices specifically, read on.
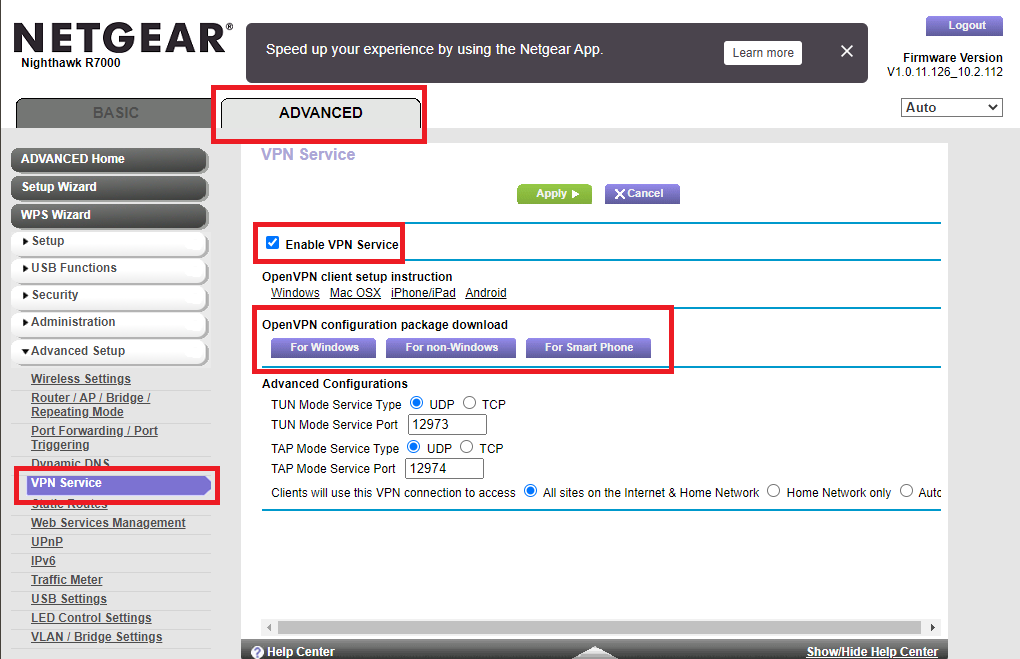
If you haven’t already read the Netgear docs on how to enable the vpn on the router and download the required files, go read that now. Here’s a quick rundown in screenshot form.
Now for the fun part. We’re going to delete a few lines from the .ovpn file (for me it was named client3.ovpn) and add the content from the other files into it with a few small changes.

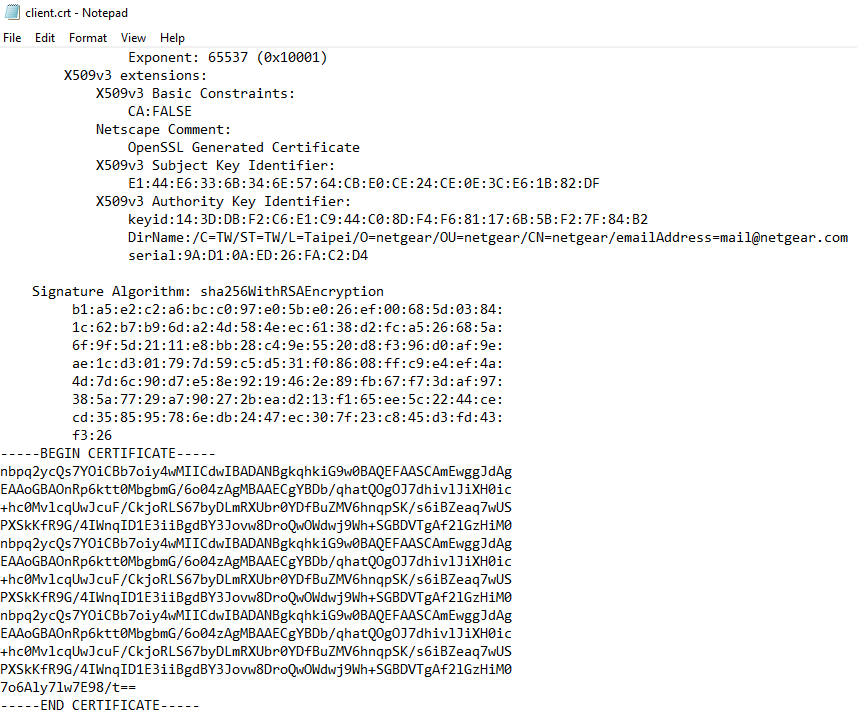
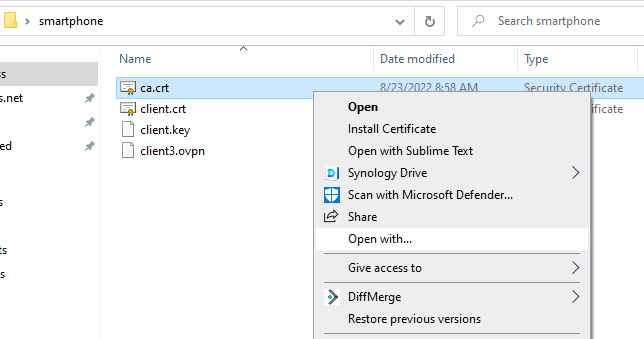
For the ca.crt and client.key, you’ll just copy the contents in their entirety.
Below the remaining content in the client3.ovpn file, add the content from the other files in between the respective tags. The stuff from ca.crt goes in between the <ca> tag, the client.crt between the <cert> tags, and the client.key between the <key> tags.
<ca>
-----BEGIN CERTIFICATE-----
blah blah blah
-----END CERTIFICATE-----
</ca>

<cert>
-----BEGIN CERTIFICATE-----
blah blah blah
-----END CERTIFICATE-----
</cert>

<key>
-----BEGIN PRIVATE KEY-----
blah blah blah
-----END PRIVATE KEY-----
</key>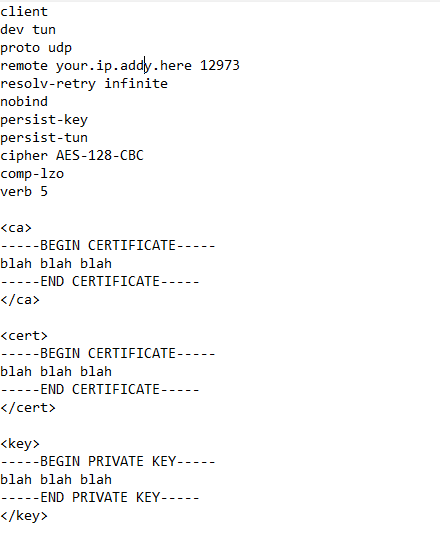
Okay, the hardest part is done! Now you have to import the profile onto your phone. For iOS devices, there seems to be only one way to do this, although I can’t say for certain that there isn’t some other backdoor. Attach the client3.ovpn file to an email and send it to yourself. Then, open the email using the mail app on you iPhone. It *must* be the iOS mail app and not something else like Outlook or it will not work. If you have the OpenVPN connect app already installed on your phone, the attachment will appear with the app logo. Tap the attachment, and select OpenVPN as the app to open it with. From there, all you need to do is save the profile after the app opens!
I hope this helps you get your VPN up and running at home. I know for me personally, I was so frustrated that there weren’t better instructions out there. I can confirm that this works for Android devices too, at least it worked on my girlfriend’s Google pixel. Good luck, best wishes, and happy interneting!